User manual
My Profile
GetCertified allows its users to:
- Preview or edit personal information in the "Information" tab.
- Preview the list of assignments(tests, surveys, and training courses) in the " My assignments" tab.
- Preview or edit information about the groups they are members or managers of in the "My groups" tab.
- Preview the list of pools created in the system, and the pools they are managers of in the "My pools" tab or edit the listed pools.
- Preview activity log with a list of events that happened from the login in the "My activity log" tab.
- View and edit the list of favorite reports in the "My favorite reports" tab.
- Change the user status.
Note: The roles and permissions that are assigned to users allow different levels of access. Depending on their roles and permissions in the system, users are allowed to perform different actions on this page.
- Accessing the page
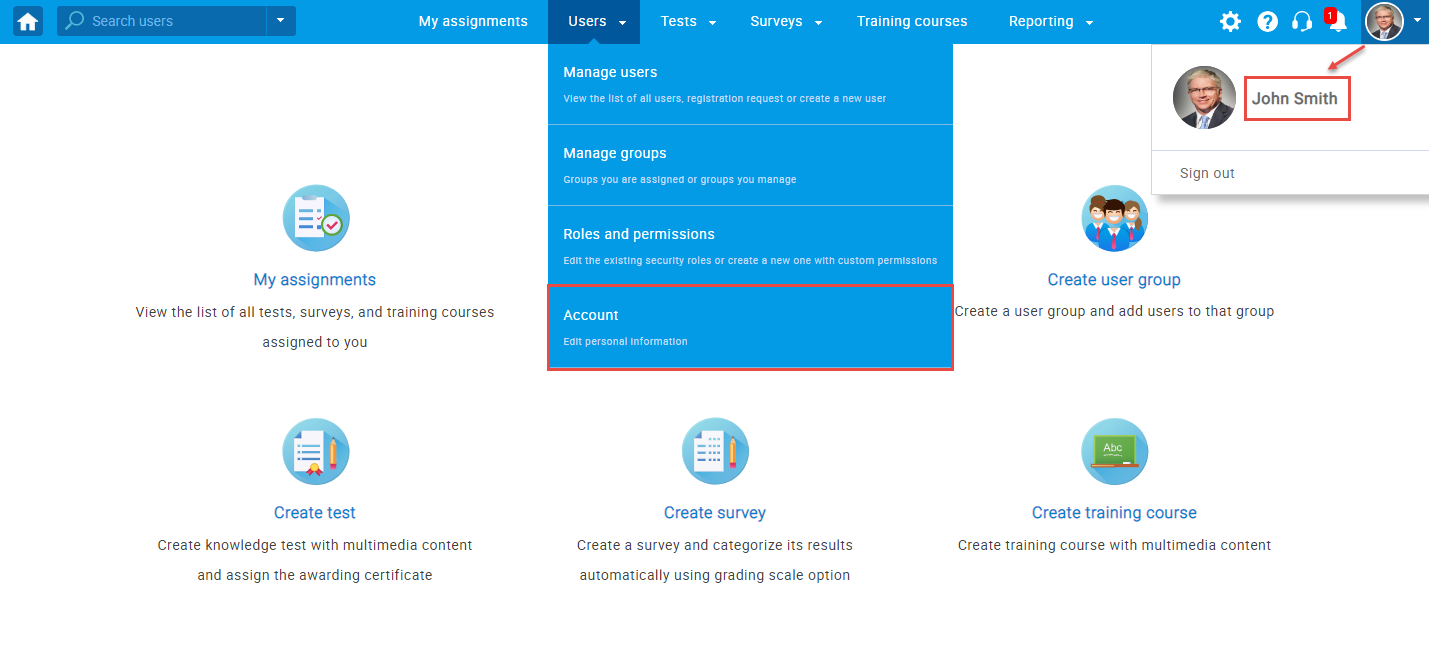
To access the "My profile" page, click on the "Users" in the application toolbar, and choose "My profile" or click on your name in the top - right corner of the application.
- Information
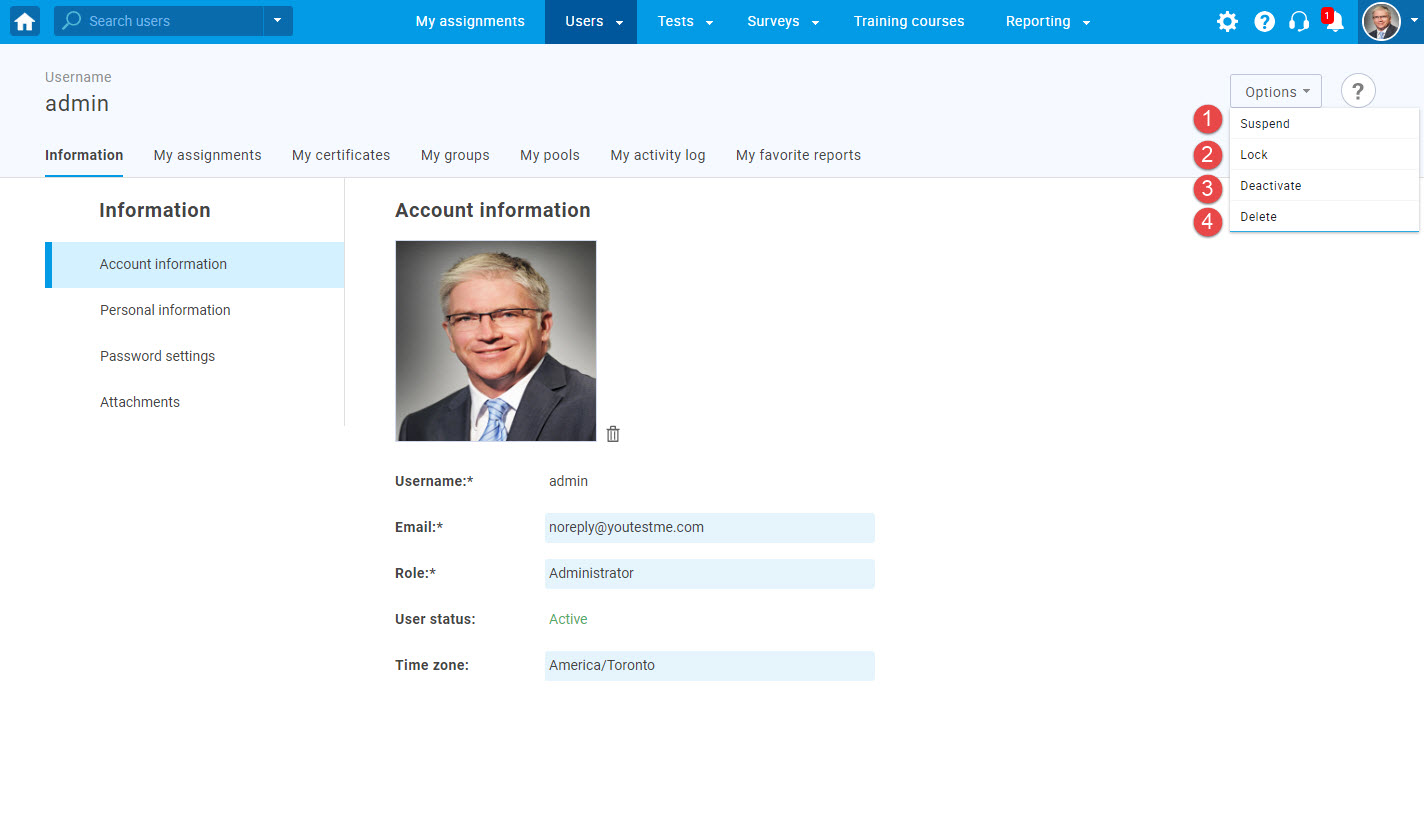
Once you access your profile page, you will see a panel with your personal information. As an administrator, in the "Information" tab you can change users' personal information regardless of their role in the system and change every users’ status on their profile. An administrator can also:
- Change users’ information.
- Change users’ password.
- Suspend any user account.
- Lock any user account.
- Deactivate any user account.
- Delete any user account.
ATTENTION: In case you are the only administrator in the application, be careful not to "Suspend", "Lock" , "Deactivate" or "Delete", your account since no one will be able to administer the application afterwards.In case this happens, please contact YouTestMe Support.
- Account information - contains necessary account related information.
- Personal information - contains relevant user’s personal information.
- Password settings - a user can change his/her password here. An administrator can change any user’s password in this tab.
- Attachments - a user can add attachments related to his/her profile.
The "Information" tab contains a side menu with four subtabs:
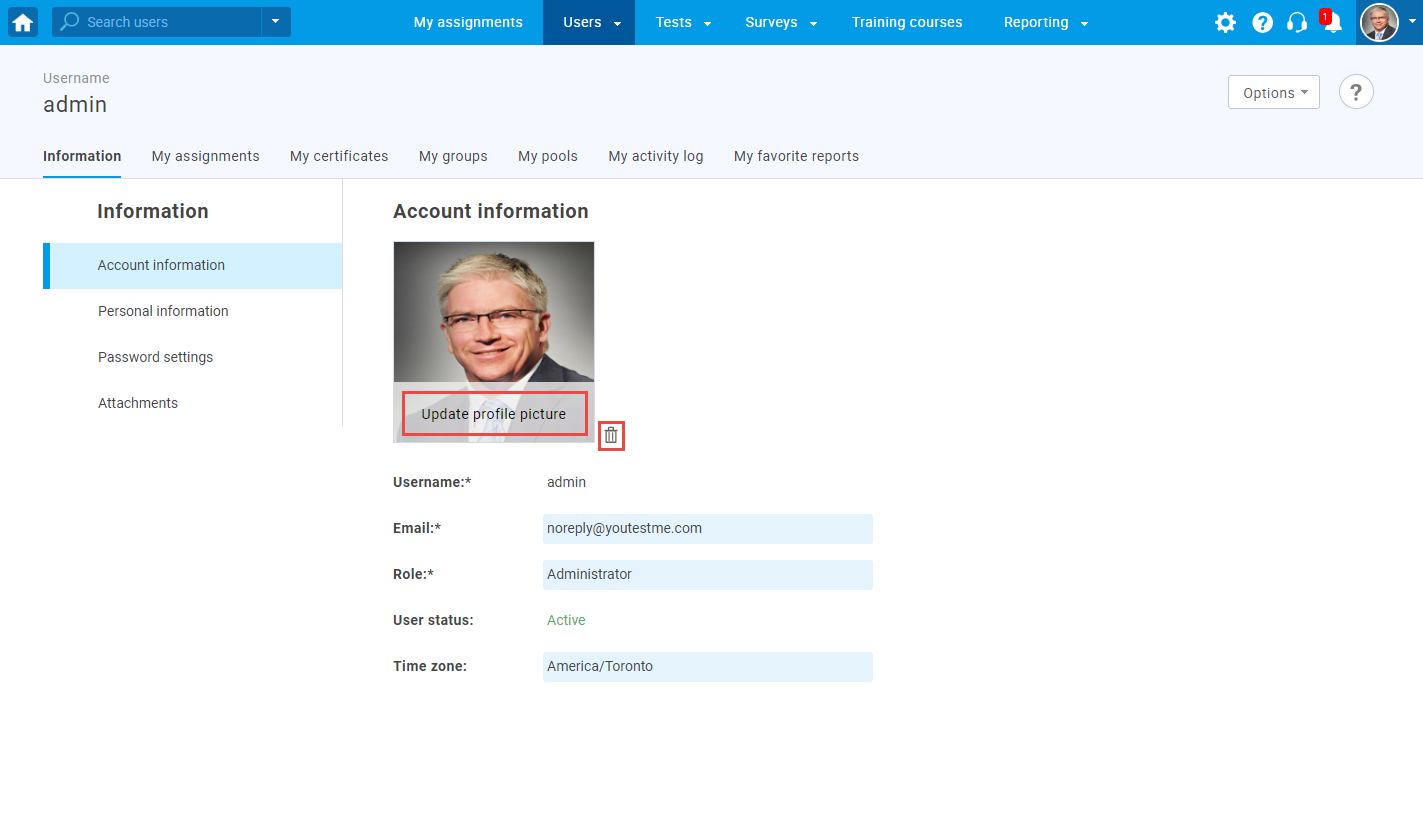
- Upload a profile photo - By clicking the "Upload" button, you can add your photo and save it. Supported file types are JPG, JPEG, PNG, BMP, and the maximum size is 100MB.
- Remove a profile photo - By clicking the "Remove" button, you can remove your profile picture.
- Preview the username of any user.
- Preview or change a user's role, your role and given permissions.
- Preview user status.
- Preview and change the Time zone - on your account or for other users, depending on your role and permissions. This setting also depends on your role and permissions in the system.
- Language in app - change the application language.
- Language in tests - change the language the test questions will be displayed in.
- Personal information - change your personal information or other user's personal information ( First name, Middle name, Last name, Date of birth, Gender, etc.).
- Password settings - to change the password, click the "Change password" button, choose the Creating method (Manually or Generated), enter a new password, confirm the password and choose its Expiration date. Click the "Save" button to confirm your changes.
- Attachments - click the "Add attachment" button to add the documents as your profile attachments. Supported attachment types are MP3, MP4, PDF ,Google docs,.ZIP, Youtube video, Link and Picture.
In the "Information" tab you may perform the following actions :

- User assignments
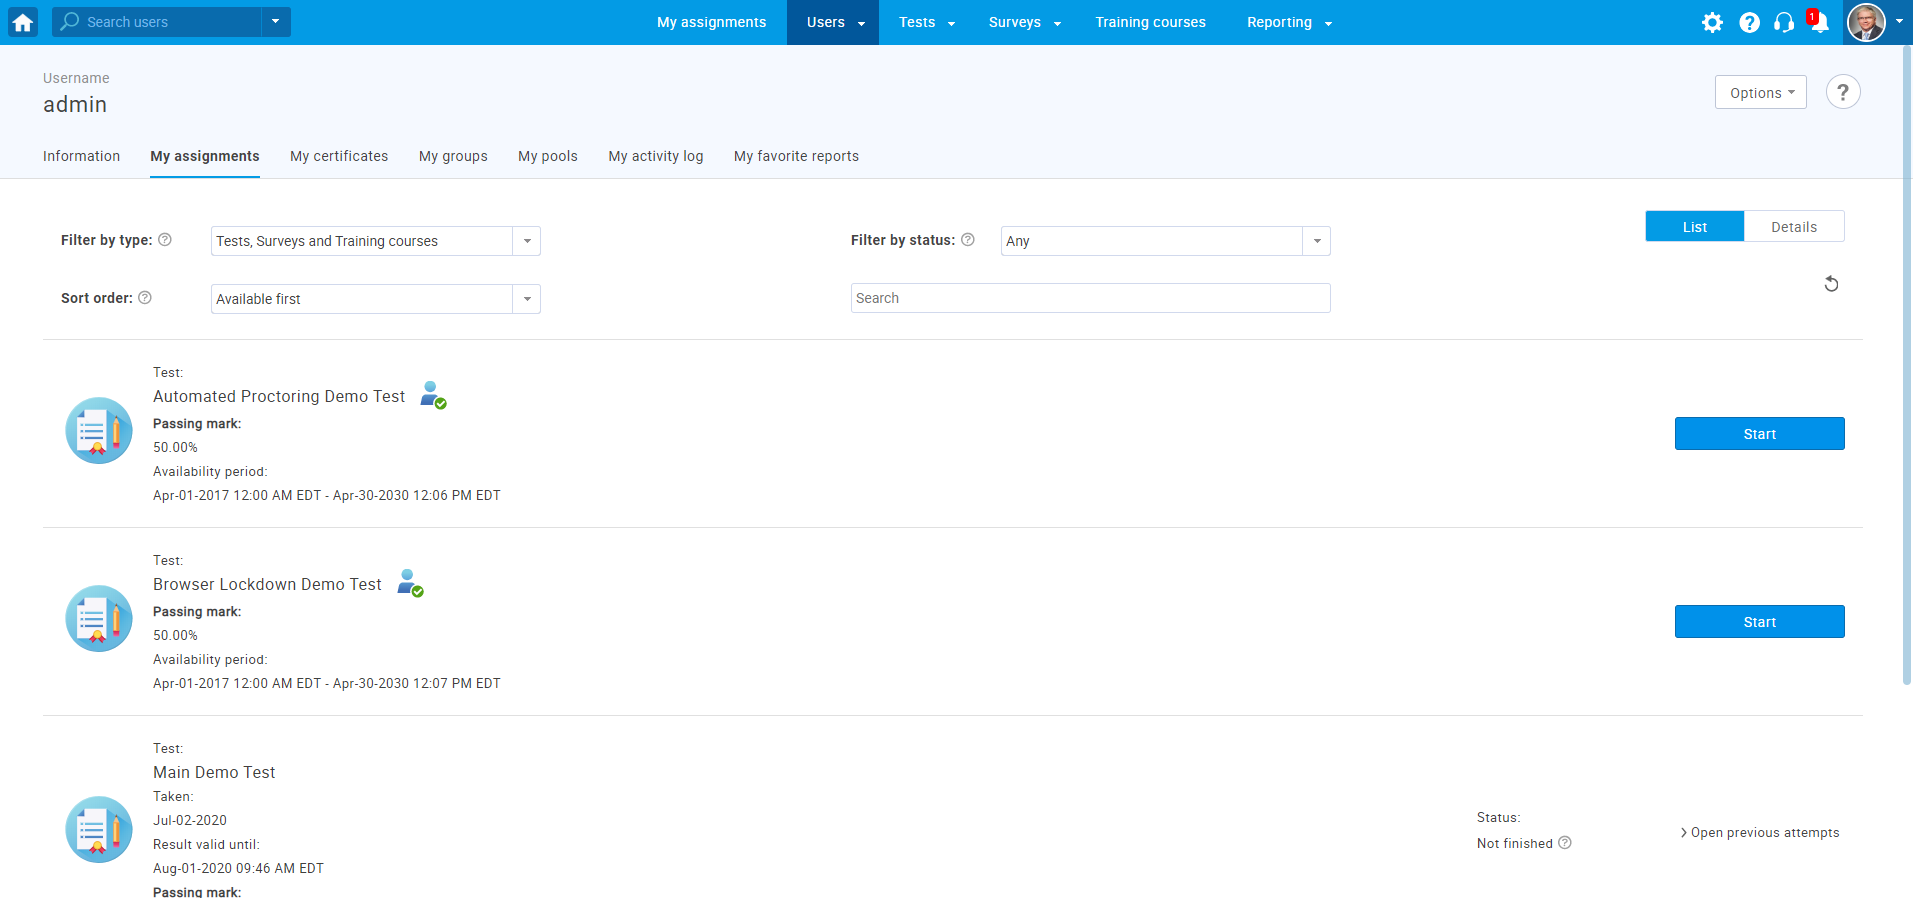
The tab " My assignments" shows the list of assignments(tests, surveys, training courses) that the assignment manager has given to you. For more information, please visit the "Assignments" section.
- My certificates
The tab "My certificates" shows you the list of achieved certificates. When you complete an assignment that grants you the certificate, it will appear here. For more information, please visit the "Manage certificates" section.
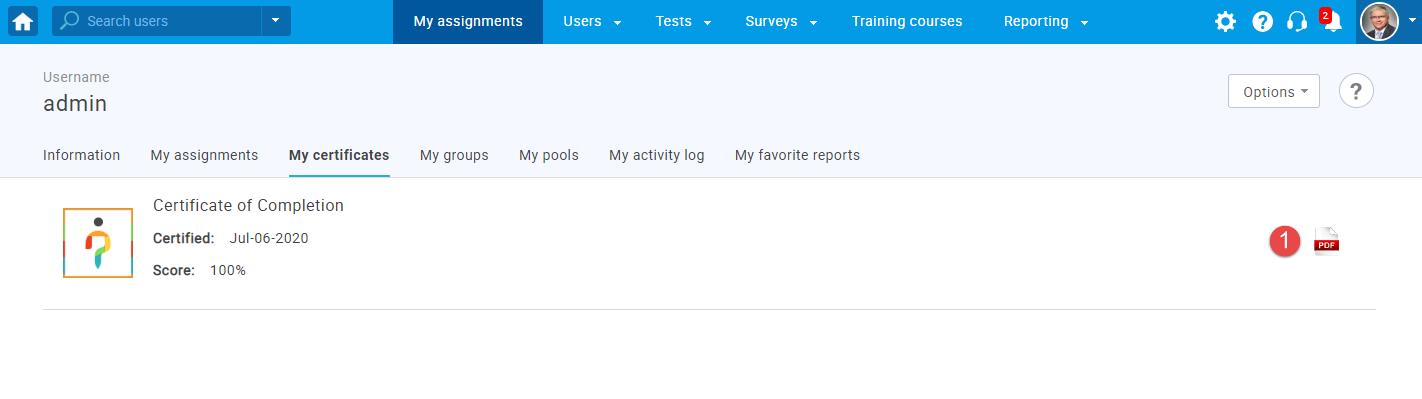
- By clicking on this icon, a user can export the certificate as a PDF file, download and save it.
- My groups
The "My groups" tab shows you the list of groups you are a member or a manager of. If you have an administrator role in the system, you can give any user within a group a specific role.
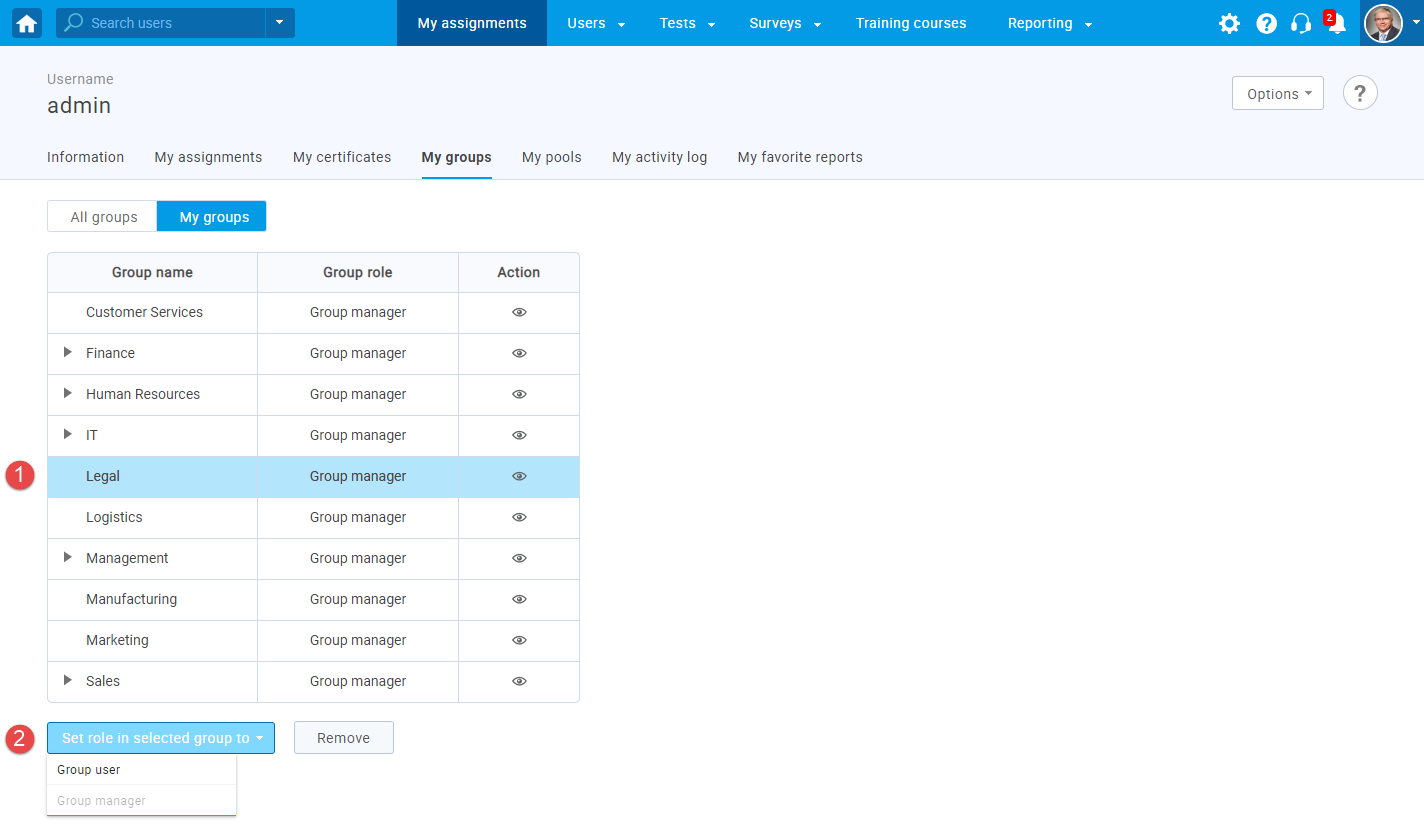
- Click on the name of the group you want to make changes in.
- Click the button "Set role in selected group to" and choose the desired role - Group user or Group Manager.
To change the role of a user in the group :
- My pools
The "My pools" tab is a page where you can see the list of pools you have created or pools assigned to you. As an administrator, you can choose to have a "Modify" or a "Read-only" role for a particular question pool, or you may assign these roles to the other users.
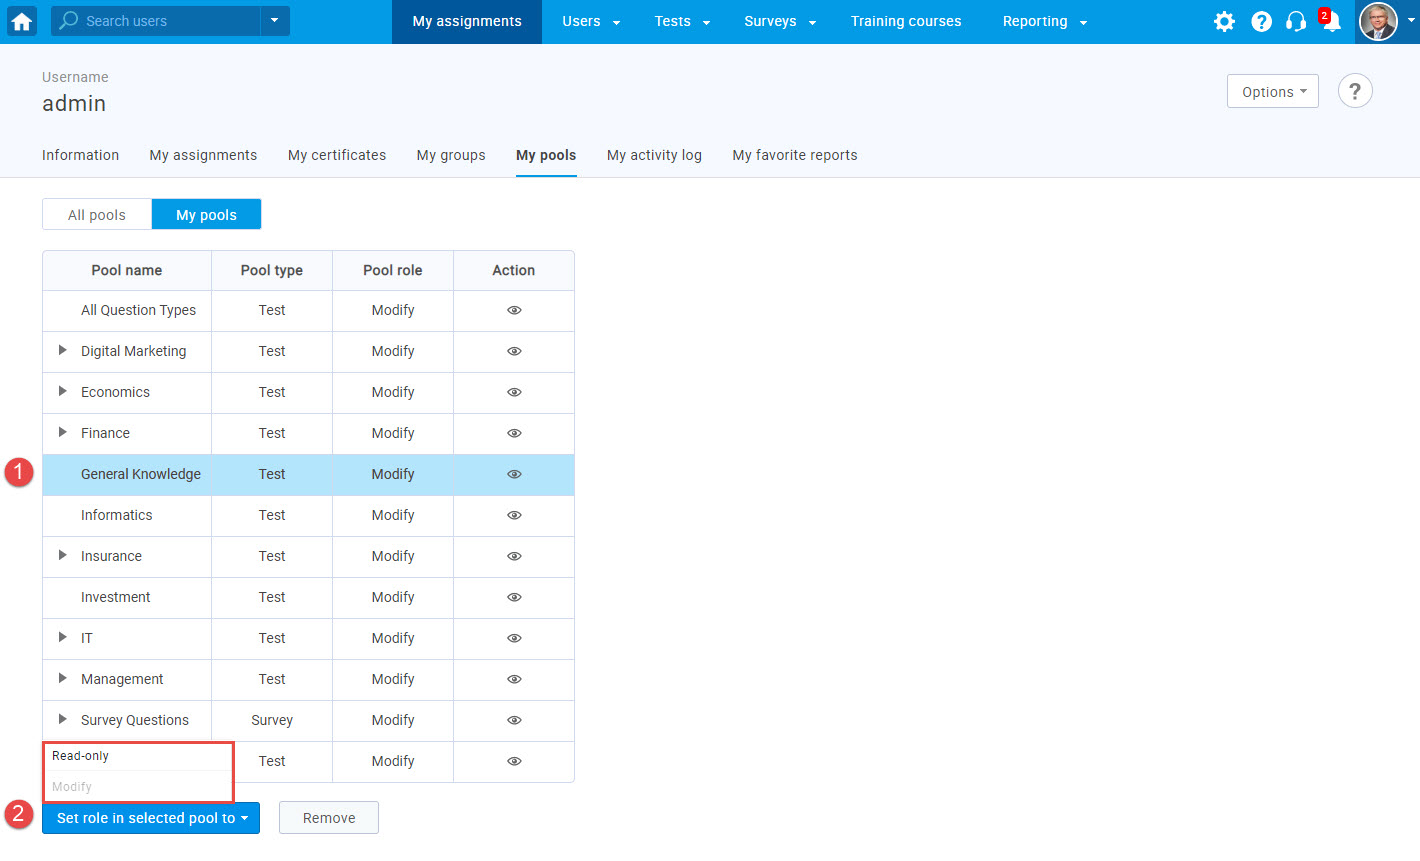
- Click on the name of a pool you want to modify.
- Click the "Set pool role to" button and choose the desired role - Read-only or Modify.
To do so :
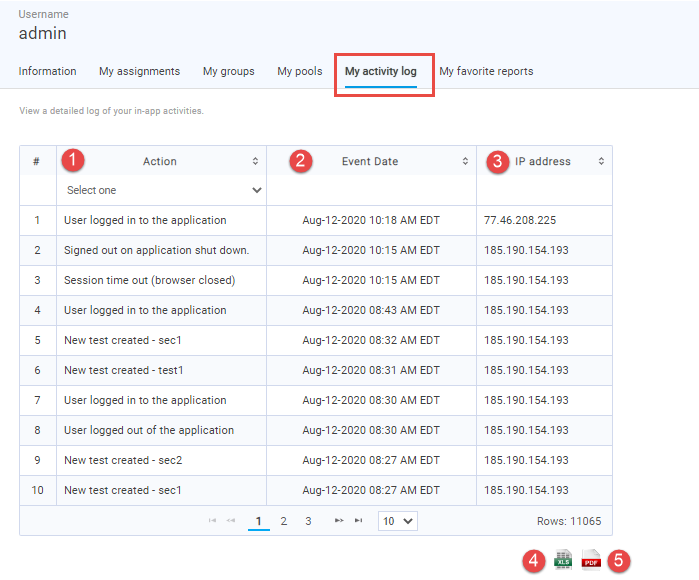
- Activity log
Activity log is a summary of all user’s activities in the system. The changes in activities the user made are listed in a table.
- Action - all in-app activities.
- Event date - The date when the in-app activity occured.
- IP address - the IP address from which the user signed into the system.
- Export in Excel file.
- Export in PDF file.
The Activity log table contains the following columns:
You may export the activity log in the two ways:
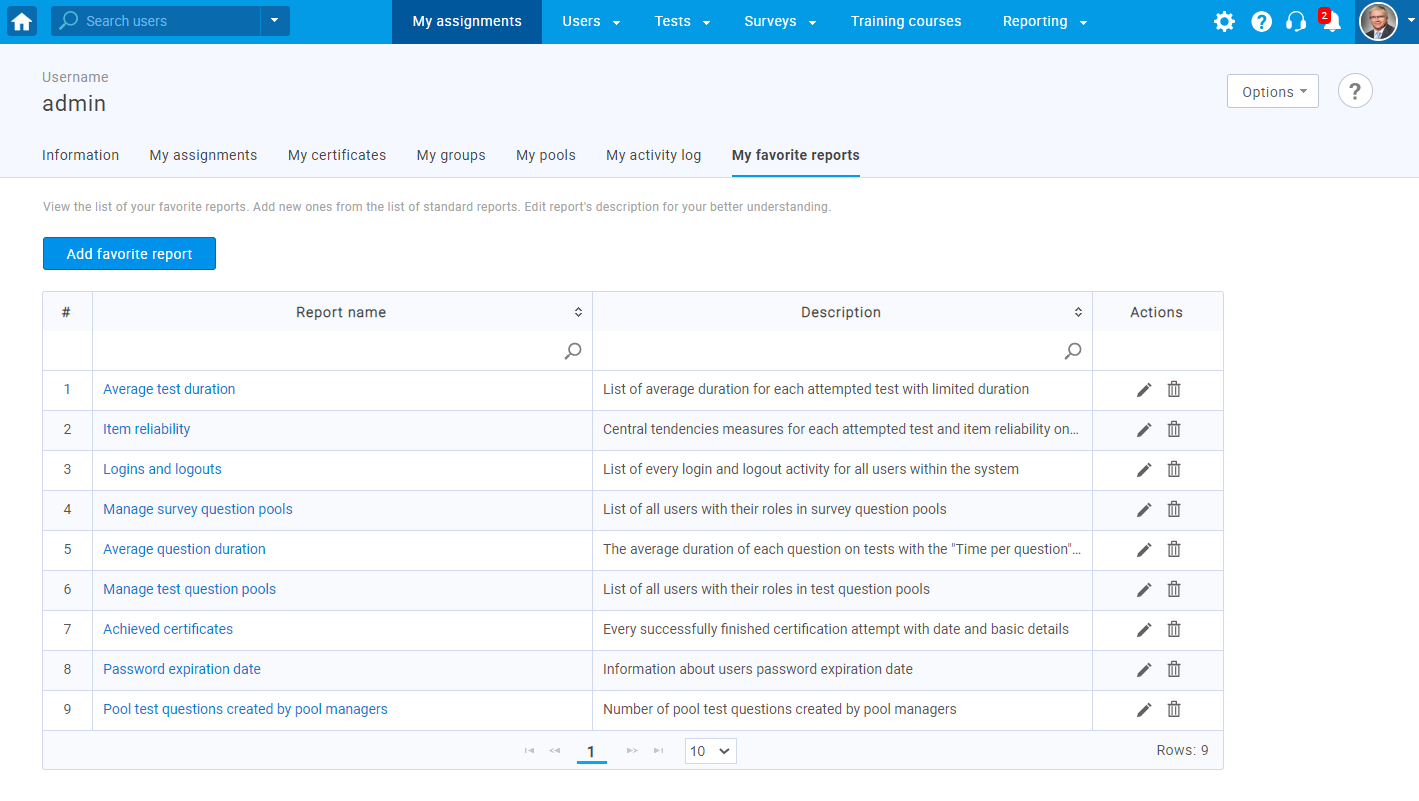
- Favorite reports
In the "Favorite reports" section users can make a custom list of reports they use most frequently or consider most important. Accessing the desired report is made easier, since a user does not need to browse through standard report categories, but only through a custom list of favorite reports.
- Accessing favorite reports
By clicking on the "Favorite reports" tab, you will see all reports you selected as favorite, with their names and descriptions.
To open the desired report and perform allowed actions, follow the steps described in "Accessing reports" and "Actions" chapters from "Predefined reports" section.
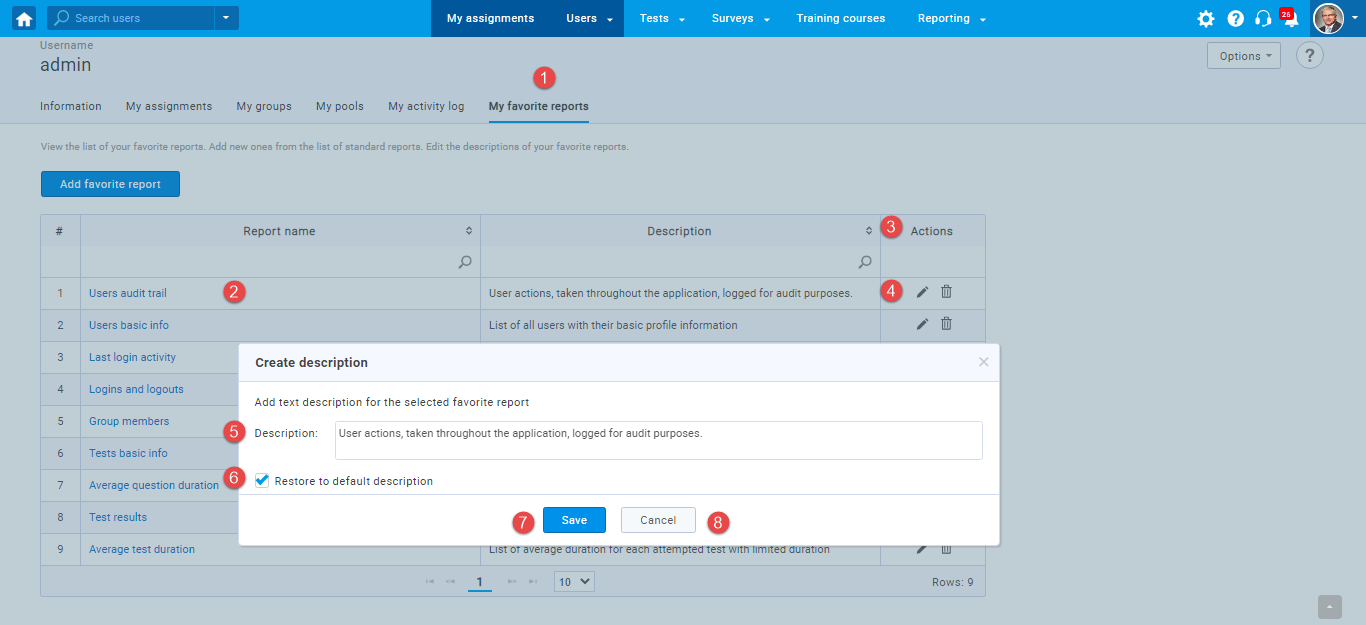
- Updating favorite report’s description
To update a description of your favorite report:
- Access the list of favorite reports.
- Find the report you want to edit description for.
- Find the "Actions" column.
- Click on the "Pencil" icon.
- Enter the report description.
- Restore to default description if preferred.
- Click the "Save" button to confirm the changes.
- Click the "Cancel" button to discard your changes.
- Removing reports from your favorite reports list, by following these steps:
- Access the favorite reports list, as described in "Accessing reports".
- Select the report you want to remove from the favorite reports list.
- Find the "Actions" column.
- Click on the "trash" icon.
- Confirm in the dialog that you want to delete the report.
- Report is removed from your favorite reports list.
- Accessing favorite reports
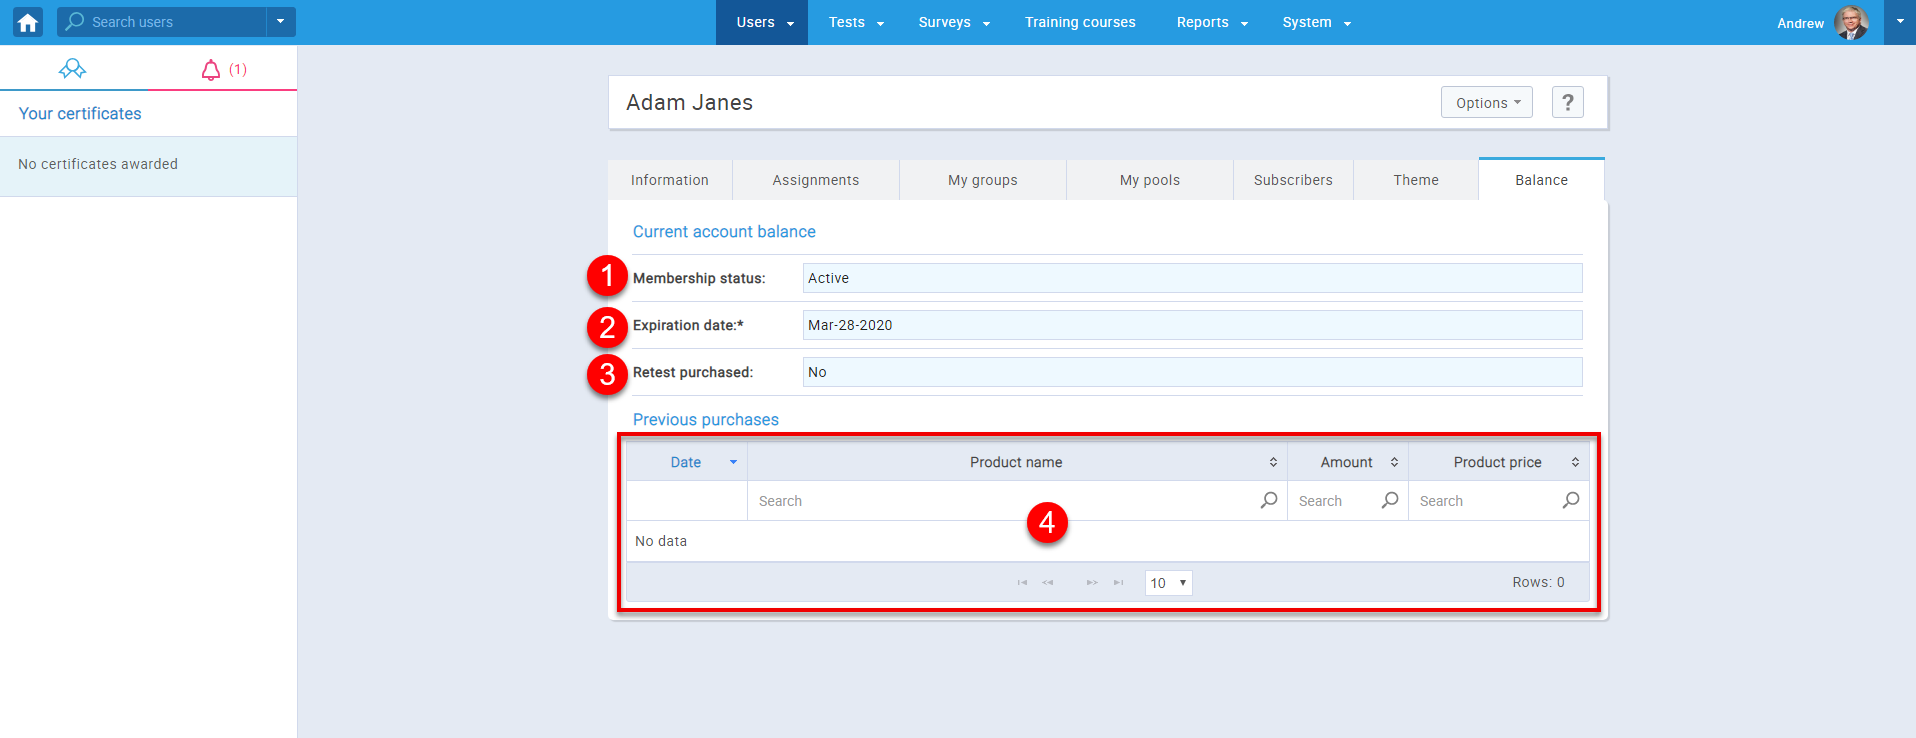
- Balance
In the "Balance" tab, you can see:
- User's membership status ("Active" or "Deactivated").
- The membership expiration date.
- Retest purchased - If a student purchased retest ("Yes" or "No").
- All user's previous purchases are displayed in the "Previous purchases" table.