User manual
Roles and Permissions
User roles are are formed based on the set of permissions which grant users different authorization rights within the application. These authorization rights are convey different levels of access. Each application module (test, pool, group, survey, etc.) who are in control of every action within the module. Therefore, granting a specific user a set of permissions is not the only way to ensure the user's authorization rights.
GetCertified allows the administrator to create new and manage existing user roles and permissions.
- "Student" - A student is a user with basic permissions in the system. A student has permission to take tests, surveys, and training courses. Also, a student is allowed to view and print personal certificates.
- "Administrator" - An administrator is a role that has all the permissions in the system. An administrator all modules in the system.
- "Proctor" - Proctor role has higher-level permissions than a regular user. Proctors can view the tests where they are assigned to as proctors, and can follow the candidate's progress on these tests.
- "Instructor" - An instructor role is a role with higher-level permissions than a regular user. Instructors can manage their groups, pools, tests, and reports, but can only view the content not managed by them.
Predefined roles in the system are:
Besides the predefined roles, you can create an unlimited number of custom roles with specific permissions. Visit the Create new role help section to see how to create a custom security role.
- Accessing the page
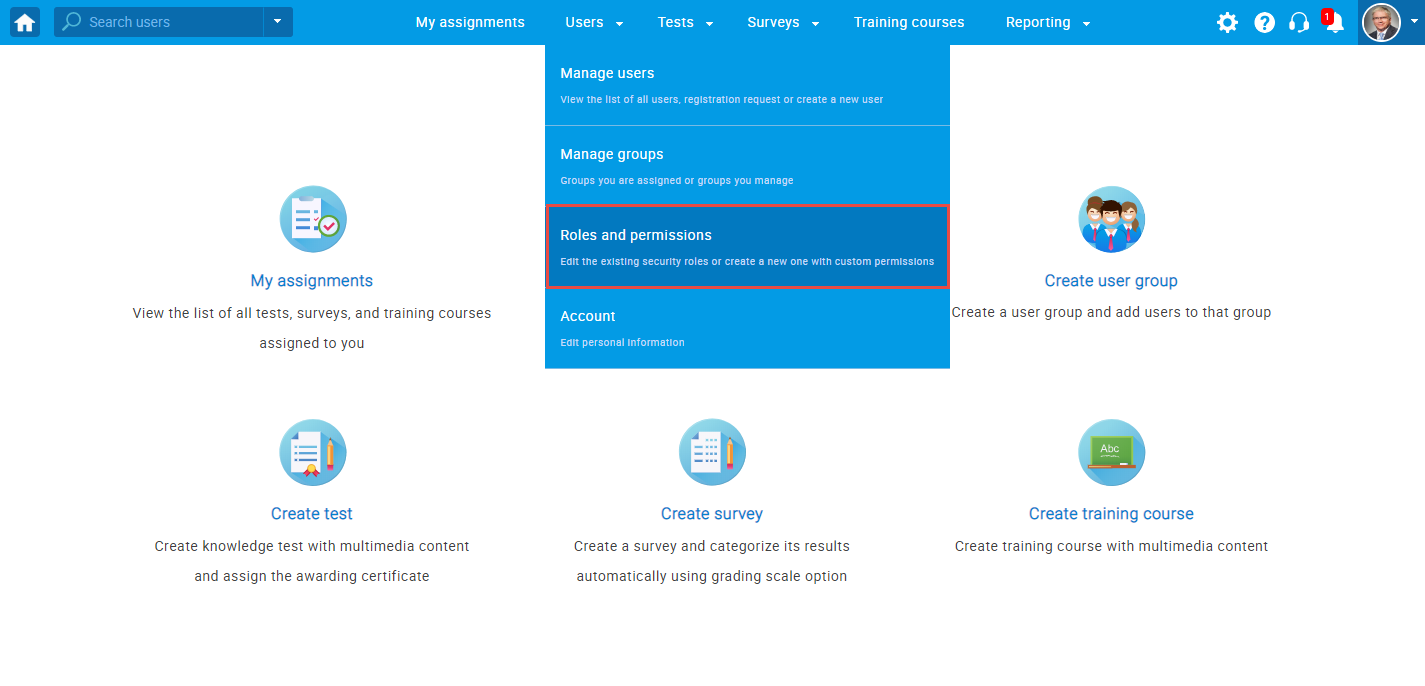
To manage roles and permissions, click on the "Users" tab in the application's toolbar and then choose "Roles and permissions".
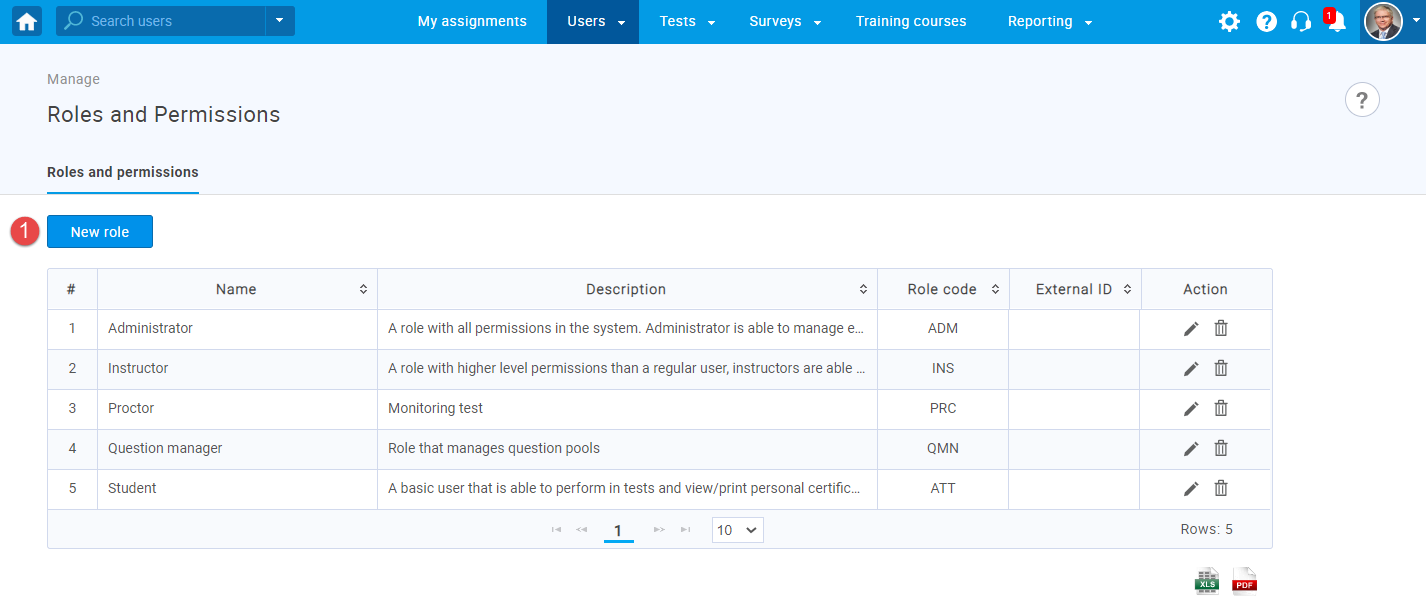
- The ''Roles and permissions'' page
"Roles and permissions" is another section under the "User" management menu. It allows an administrator to create new and manage the existing user roles and their permissions. The table on the ''Roles and permissions'' page contains all the roles that exist in the system. An administator can choose any role, view it, and edit its permissions.
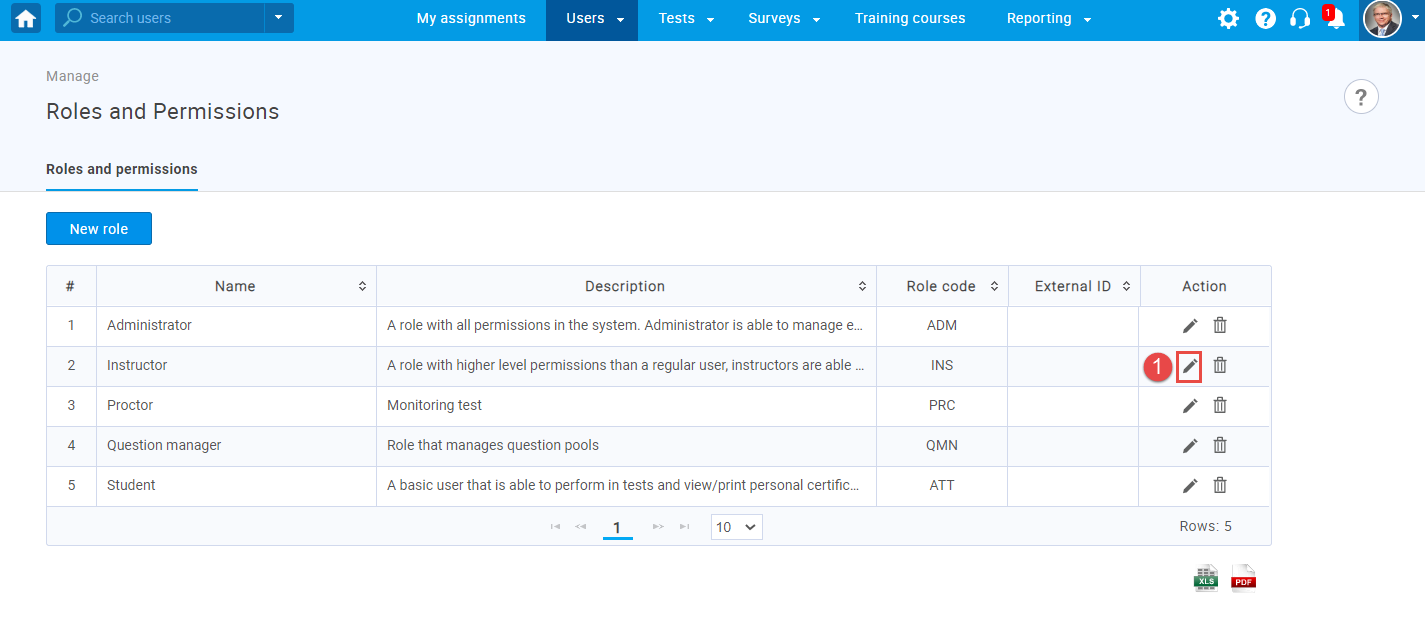
- Role name - it is displayed on each profile ("Student", "Instructor", "Administrator", " Proctor").
- Role code - it is used for loading users through the Excel template. It links the users you want to load with existing roles in the application.
- External ID - it is used for integration with external systems. For example, when loading a user with the Instructor role, the entered External ID must be the same as the External ID from the template. If not, the default role assigned to the user will be Student.
- Role description - it describes any edited or created role in the system.
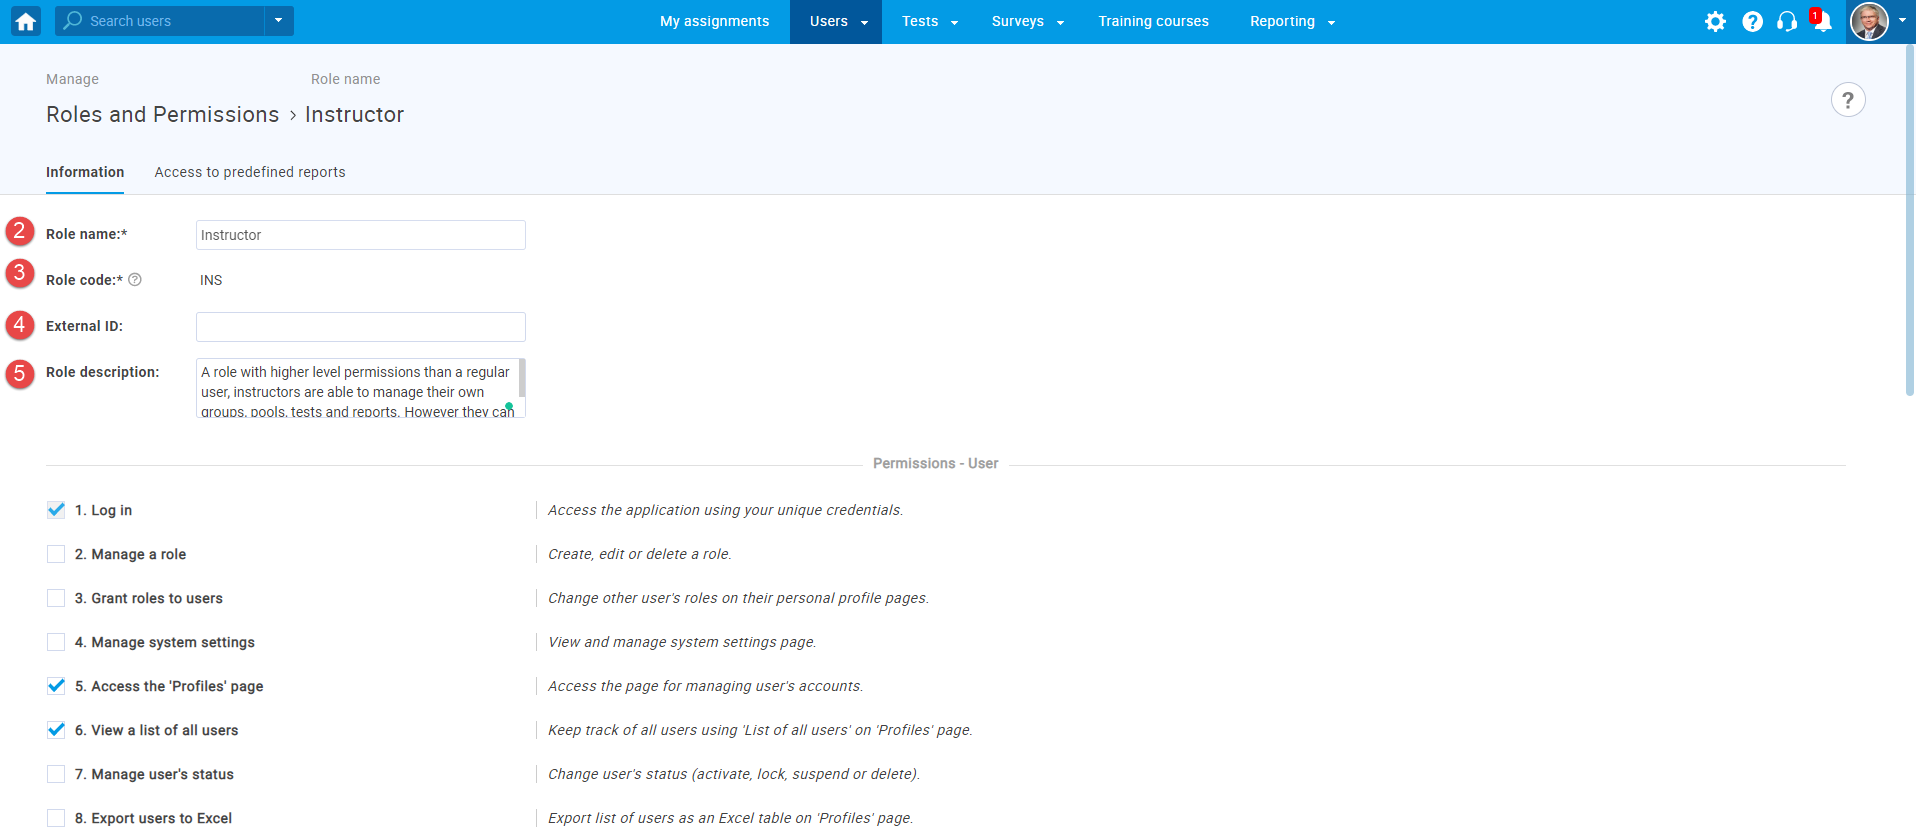
To edit an existing security role or create a new one with selected permissions, you should enter:
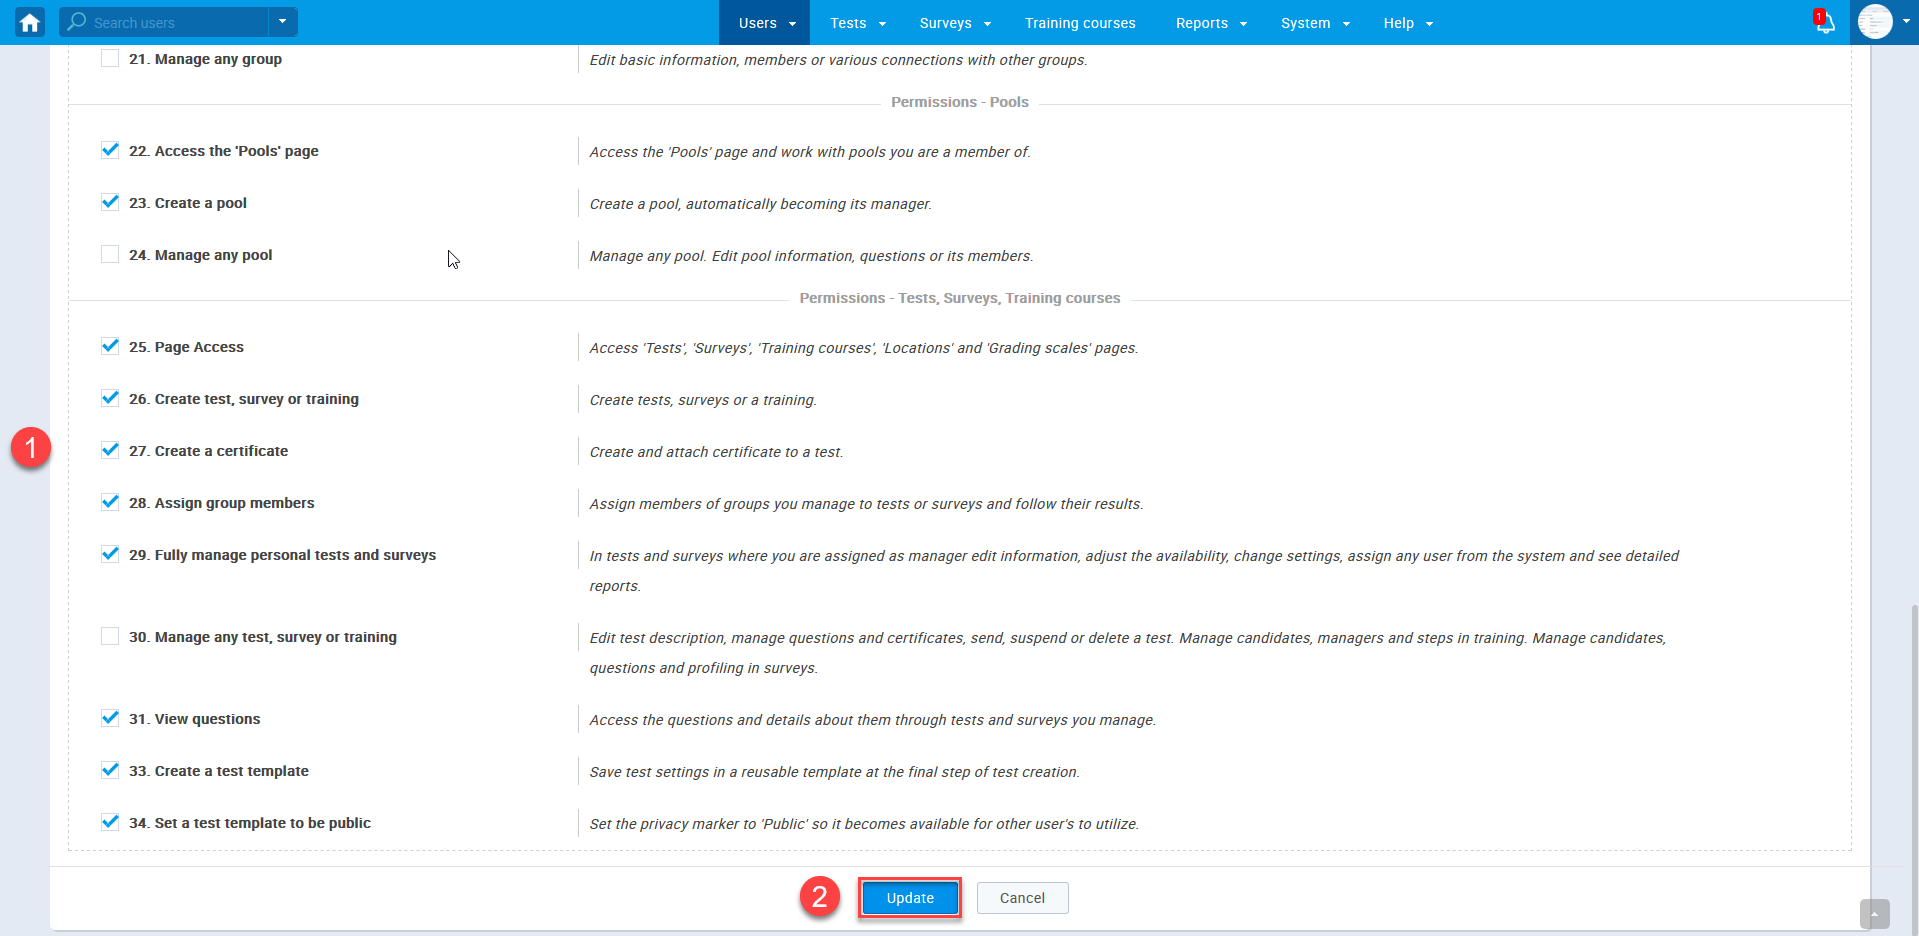
- Select the permissions you want to give to the role.
- Click the "Update" button.
The next steps in updating a new role in the system are :

- Enter the "Access to predefined reports" tab.
- Browse through the list of available reports and click on "Enabled"/"Disabled" to set the report access for the selected user role or
- Enable/disable the access to all reports.
To enable or disable the access to the predefined report for each role,follow these steps:
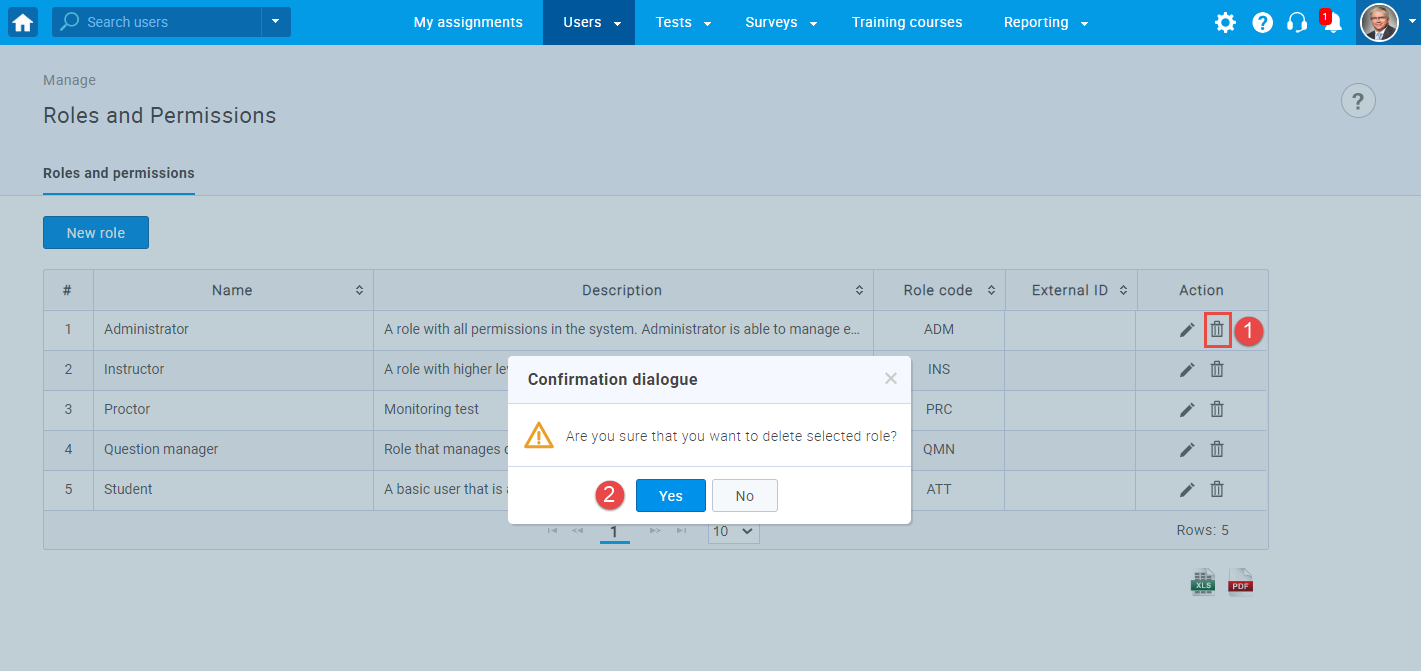
- Click on the can icon next to the role you want to delet.e
- Confirm by clicking on "Yes" button.
To delete an existing role in the system, follow these steps :
- New role
- Click on the "New role" button.
- Enter the role name.
- Enter the External ID.
- Enter the description of a role you are creating. This field is not obligatory.
To create a new role, follow these steps:
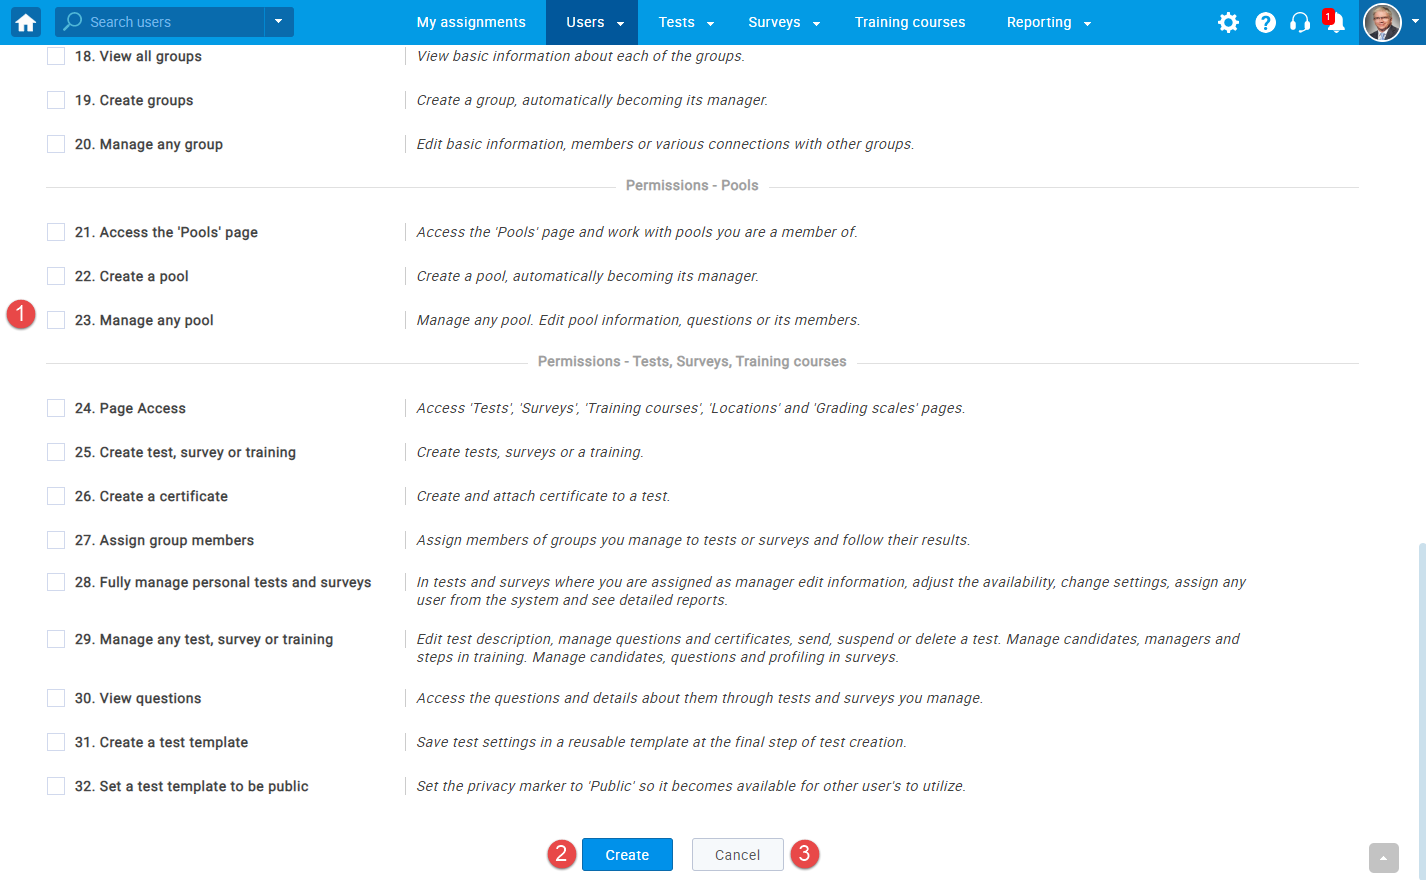
- Select the permissions you want to give to the role you` are creating.
- Click the "Create" button to save the changes you have created .
- Click the "Cancel" button if you want to cancel the creation of new user role you created .
To assign the permissions to any role in the system, follow these steps:
The following example serves to explain the primary purpose of using roles and permissions.
A user needs to have specific permissions that will allow him to manage any group in the system. Please note that only he users with an administrator role can assign permissions to other users.- To do so, an administrator should:
- Give the user such permissions, that will allow him to preview the group page (permission 17. Access the "Groups page").
- After giving the user the permission to preview the group's page, the administrator assigns the user as the manager of the specific group to give him/her the manager privileges.
- To conclude :
- There is no need to check the permission "20. Manage any group" to grant the user the privilege to be the manager of a group.
- Also, if the permission "20. Manage any group" is checked; it does not mean that the user will become the manager of every group.
- It means only that he/she has permission to become the manager of a group.
- Predefined reports
Predefined reports are the same reports that are listed in the Reports – Predefined reports section. For more information visit Predefined reports .
Predefined reports are directly related to the user roles. When the administrator allows he report access to a specific role, all the users in the system with that role can view it.
Also, a role can be given permission to view only limited data within the report.
For example, an Instructor, cannot view all test results that exist in the system, but only of the tests they are assigned to as managers.
This means that only the ''Manage any test'' permission grants you the right to preview all test results.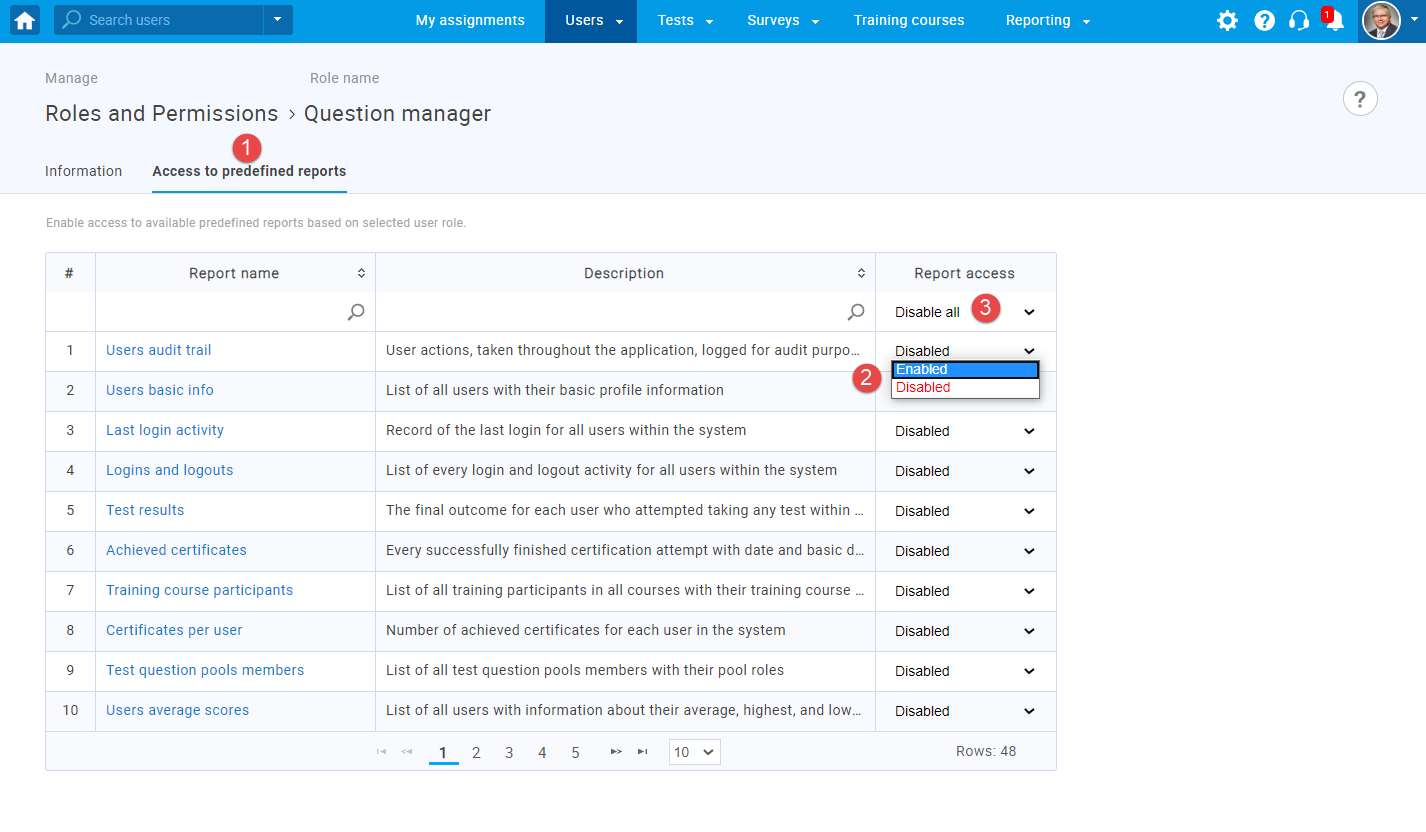
- After creating a new role, click on the "Access to standard reports" tab.
- Browse through the list of available reports and click on "Add"/"Remove" button to enable/disable report access for the created user role.
