User manual
Scheduled reports
-
Introduction
Scheduled reports deliver predefined reports via email to designated recipients automatically. Subscribers receive these reports at specified intervals, allowing easy previewing without logging into the application. These users are not required to be registered users of the application.
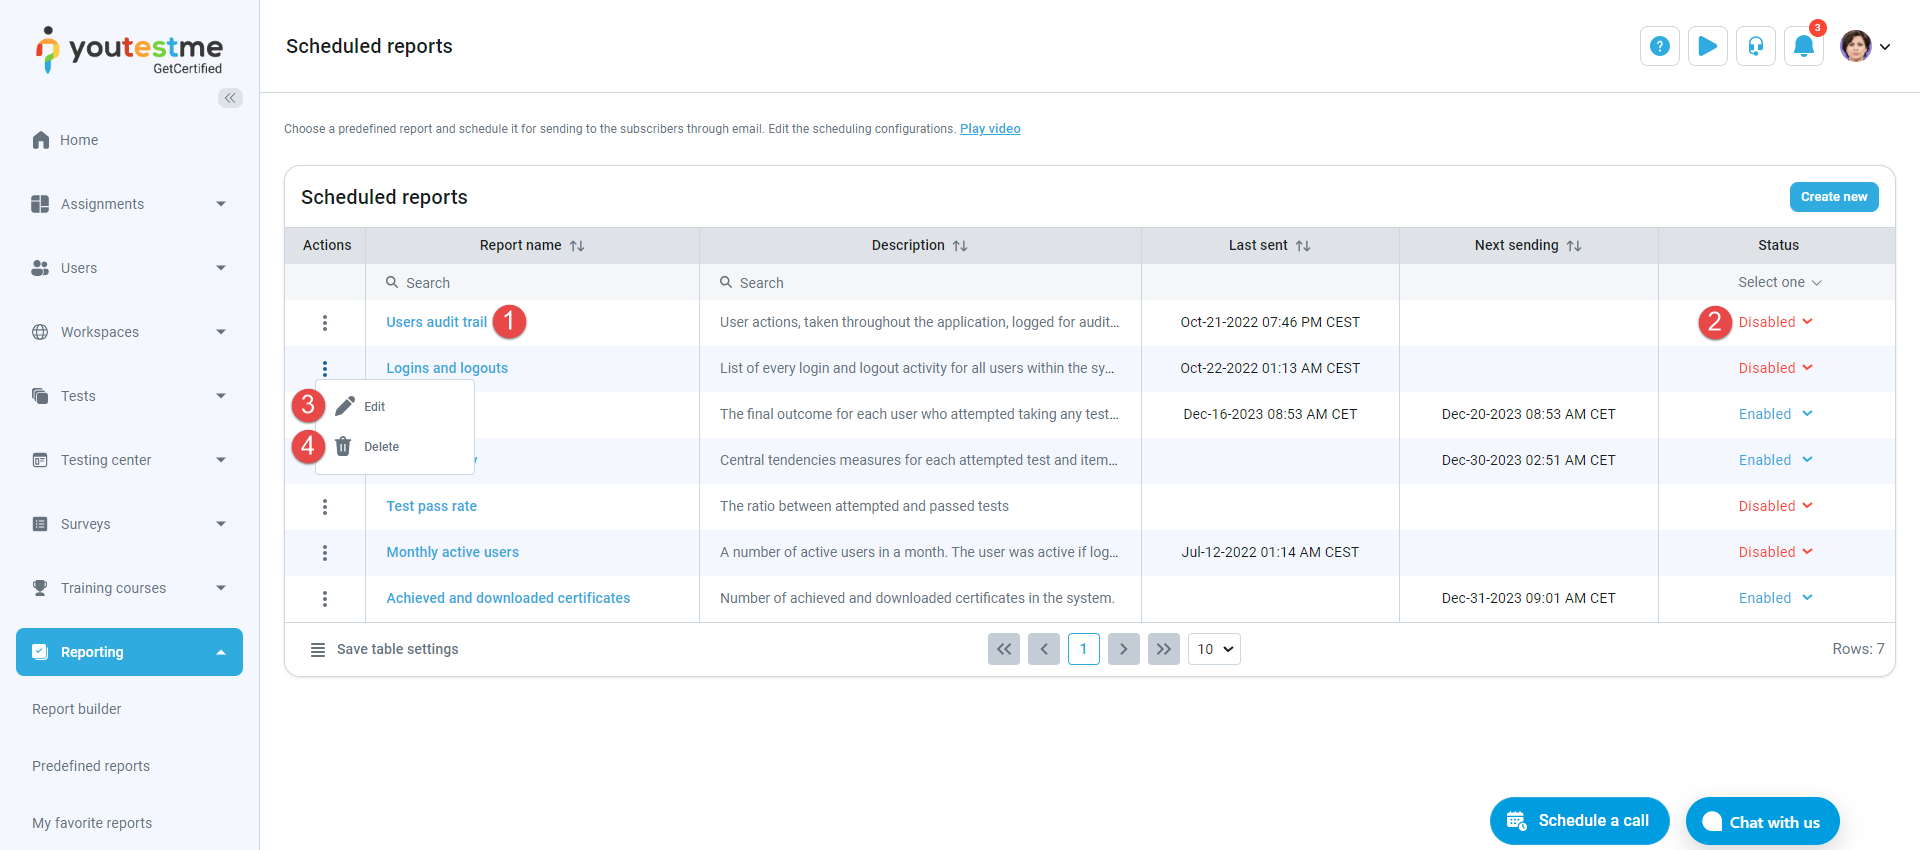
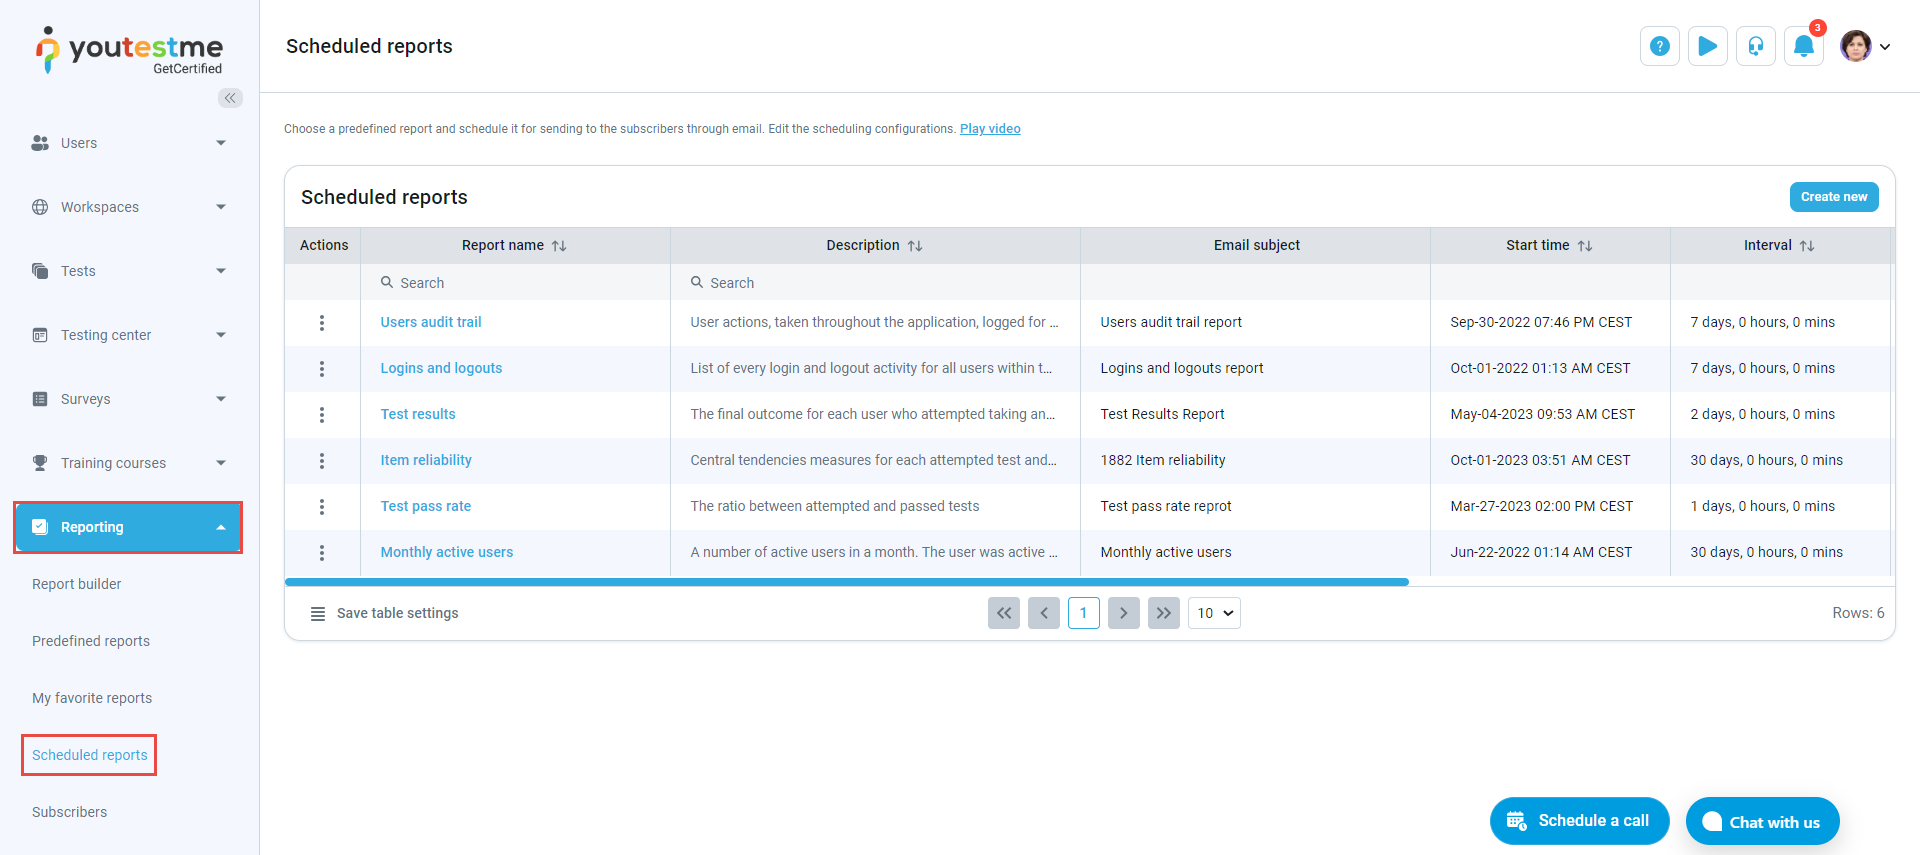
To view all scheduled reports, navigate to the Reporting section in the main menu, then select Scheduled reports.
-
Scheduling a new report
Note: Before creating a new scheduled report, ensure that the mail server settings are correctly configured.
To configure the mail server, navigate to System/Settings and customization/System preferences/Mail server.
For instructions on verifying correct mail server settings, refer to the following article.To schedule a new report:
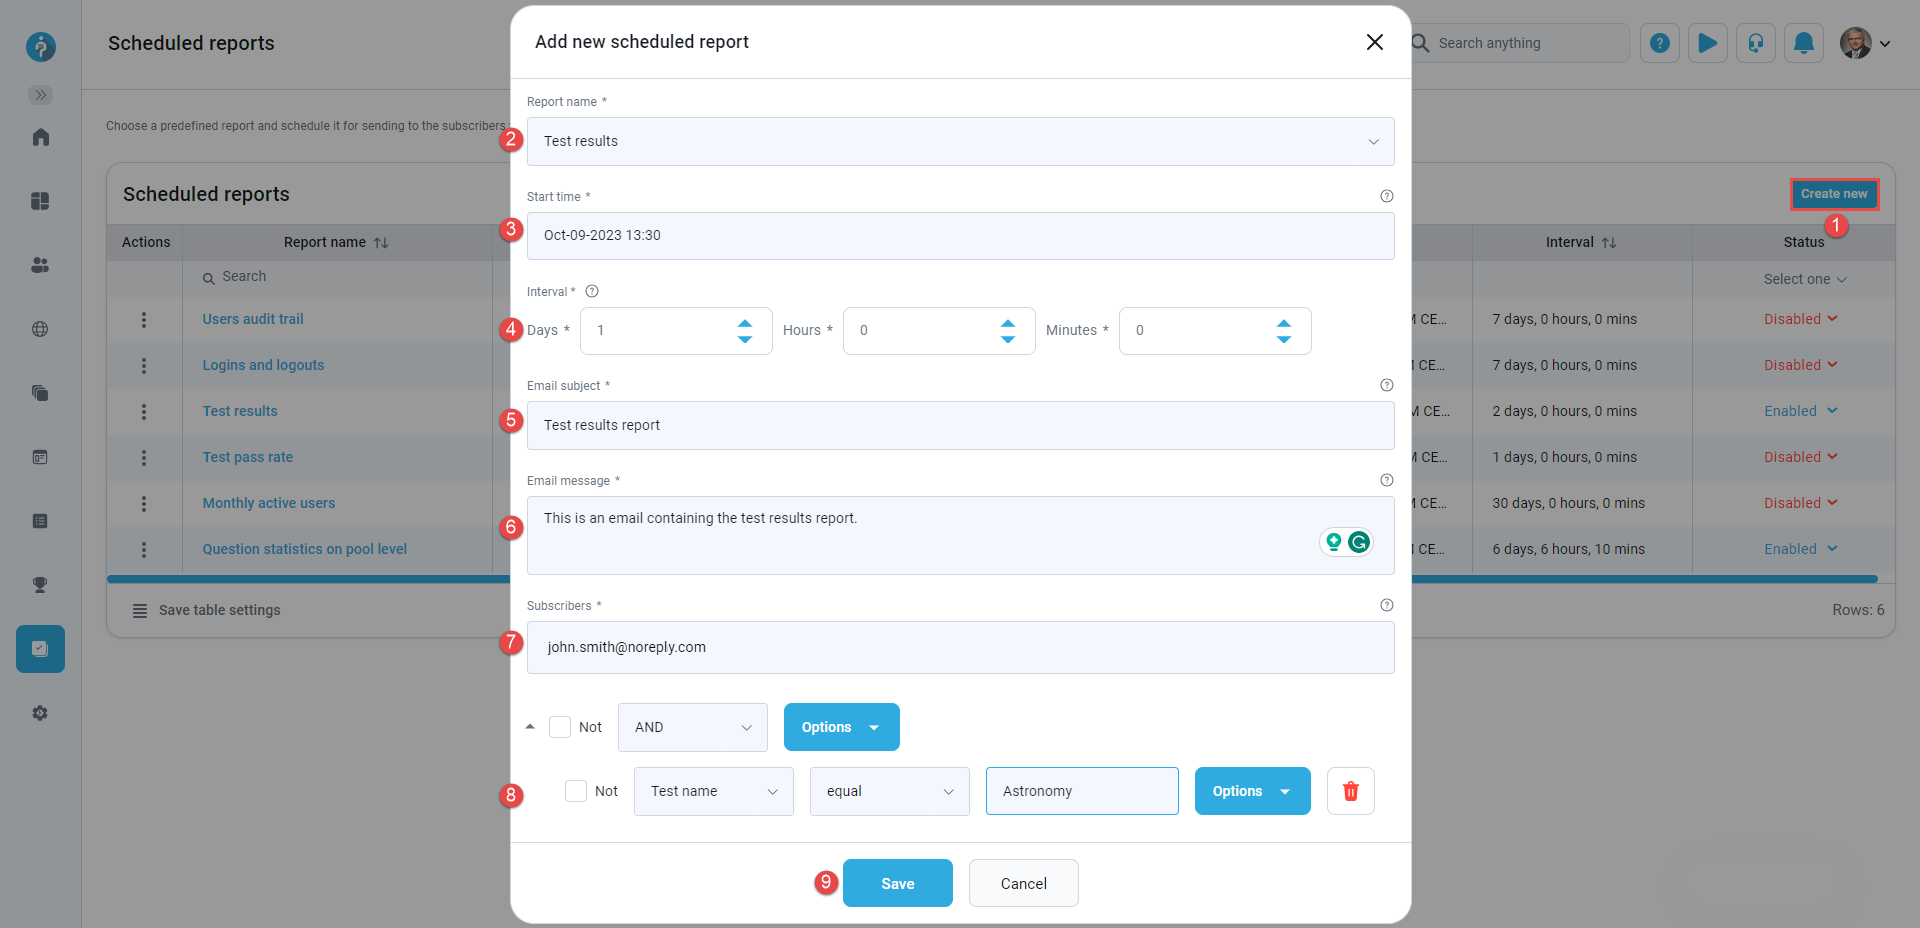
Click the Create new button.
Choose the report you wish to schedule.
Define the report's initial sending date and time.
Note: The start time of sending a report is presented in the user's time zone.
Specify the interval/frequency of the report's sending.
Define the subject that subscribers will see when they receive the email.
Define the Email message that subscribers will receive.
The report will be sent to the defined list of emails. Enter each email individually, pressing the Enter key after each entry.
-
Define the conditions that must be met for the report to be sent.
Click the Save button.
-
Additional actions
Actions that can be performed on already scheduled reports:
View the report and its information by clicking its name in the table.
Enable/disable scheduled reports. Choose the Disabled option to turn off the report's sending. Subscribers will not receive an email containing scheduled report details until its status is set to Enabled again.
Edit the scheduled report using the same fields as during the report scheduling.
Additional fields include:-
Report ID - This unique identifier is assigned upon scheduling the report and cannot be modified.
-
Schedule only changed data option - Available only for the Test results report. Check the box if you want to send only new or changed records compared to the last report. Otherwise, all records will be sent. This option is available only when the report is created.
-
Delete the scheduled reports. The report will still be visible in the list of predefined reports but will no longer be automatically sent to subscribers.